Picking AV equipment is easier when you stop thinking in “gear lists” and start with true audio-visual requirements. What needs to be heard? What needs to be seen? Who is speaking, where are they standing, and what’s happening at the same time?
Once you’ve got those answers, the right package is easier to put together.
Start With Your Audio-Visual Requirements
Write your audio-visual requirements for events in plain language, as if you’re briefing someone who’s never seen the venue.
Include the basics first: audience size, room style (theatre, banquet, cabaret), and your run of show. Then add what necessary for delivery: how many presenters, whether they’re roaming, if there’s audience Q&A, and whether content is slides, video, live camera, or all of it.
If you’re doing anything hybrid, treat that as its own layer. Streaming, recording, and in-room playback are three different jobs, even when they use some of the same kit.
Check Venue AV Before You Book
Venue AV can save you money or create extra work. Either way, you want clarity early.
Start with what the venue has (not what it “can do”). Ask for a tech spec sheet and confirm available inputs (HDMI, SDI), screen sizes, projector brightness, audio patch points, and where the control position can sit.
Then check the constraints that affect real-world setup: ceiling height, rigging points, bump-in access, noise restrictions, and where power is located. Even a solid in-house system can fall over if the lectern is in the wrong place, the stage is wider than expected, or the operator can’t see the screen.
If the venue provides staff, confirm hours and roles. If they don’t, plan for your own crew. A room with installed speakers still needs someone to mix microphones properly.
Match Gear to the Run of Show
Most problems come from mismatches between the agenda and the equipment.
A panel with five speakers is not “one mic and a lectern”. A product launch with video is not “a screen and a laptop”. And a dinner with awards is rarely “background music and a microphone”, because you’re shifting between walk-up stings, speeches, and paging content quickly.
Build your plan around each moment: opening, keynotes, Q&A, video playback, transitions, and networking. Each moment has different audio-visual requirements, and that’s where the equipment choices become obvious.
AV Requirements for Conference Sessions
AV requirements for conference sessions are consistent across rooms. Consistency reduces changeovers, lowers the chance of mistakes, and makes presenters calmer.
In practical terms, most conference rooms need: clear speech reinforcement, predictable microphone handover, a screen solution that stays readable with some room light, and a simple way to switch between content sources.
Also plan for the less glamorous items that make conferences run. Like confidence monitors for speakers, a timer (or cueing method), lectern light if the room is dimmed, and a comms plan between stage, audio, and vision.
Build a Sound Plan People Can Actually Hear
When people complain about bad AV, the culprit is usually audio. Not loudness, but clarity.
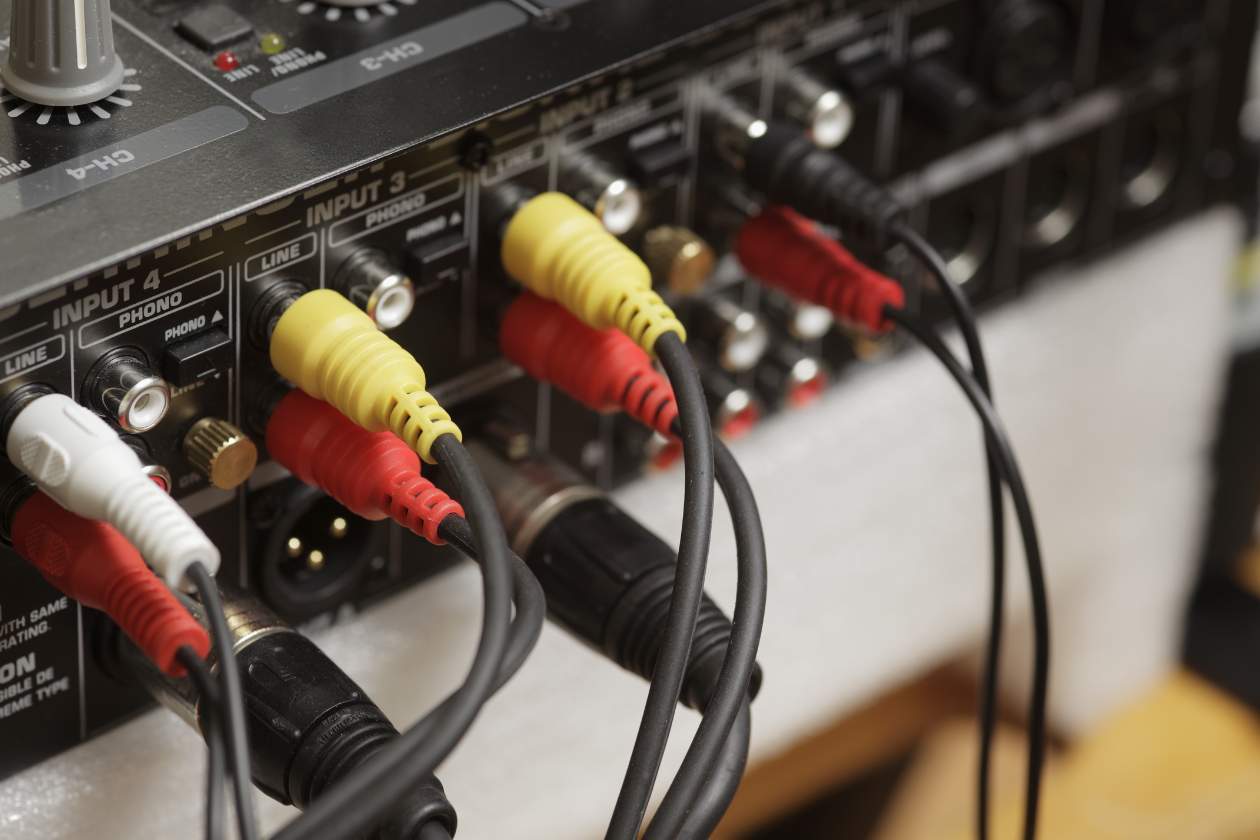
Microphones and Mixing
Choose microphones based on behaviour, not preference. If a presenter roams, give them a lavalier or headset and mix it properly. If you’re running Q&A, plan how mics move through the room (runners, roving mics, or fixed stands).
Your audio operator here is important. Two identical microphone lists can sound completely different depending on gain staging, EQ, feedback control, and how well the mix follows the show.
Also consider safe noise exposure for crew and performers. Safe Work Australia sets workplace exposure guidance around an average of 85 dB over 8 hours, with a peak limit at 140 dB.
Speakers and Coverage
Speaker selection is about coverage, not brand names. In a wide room, a single pair up front can leave the sides struggling. In a long room, delays may be needed so the back isn’t hearing a “late” version of the stage.
The venue’s surfaces need to be considered too. Glass and concrete can make speech smear. Heavy curtains and carpet can soak up high frequencies. There’s no need for fancy equipment for this, just a sound plan that suits the room.
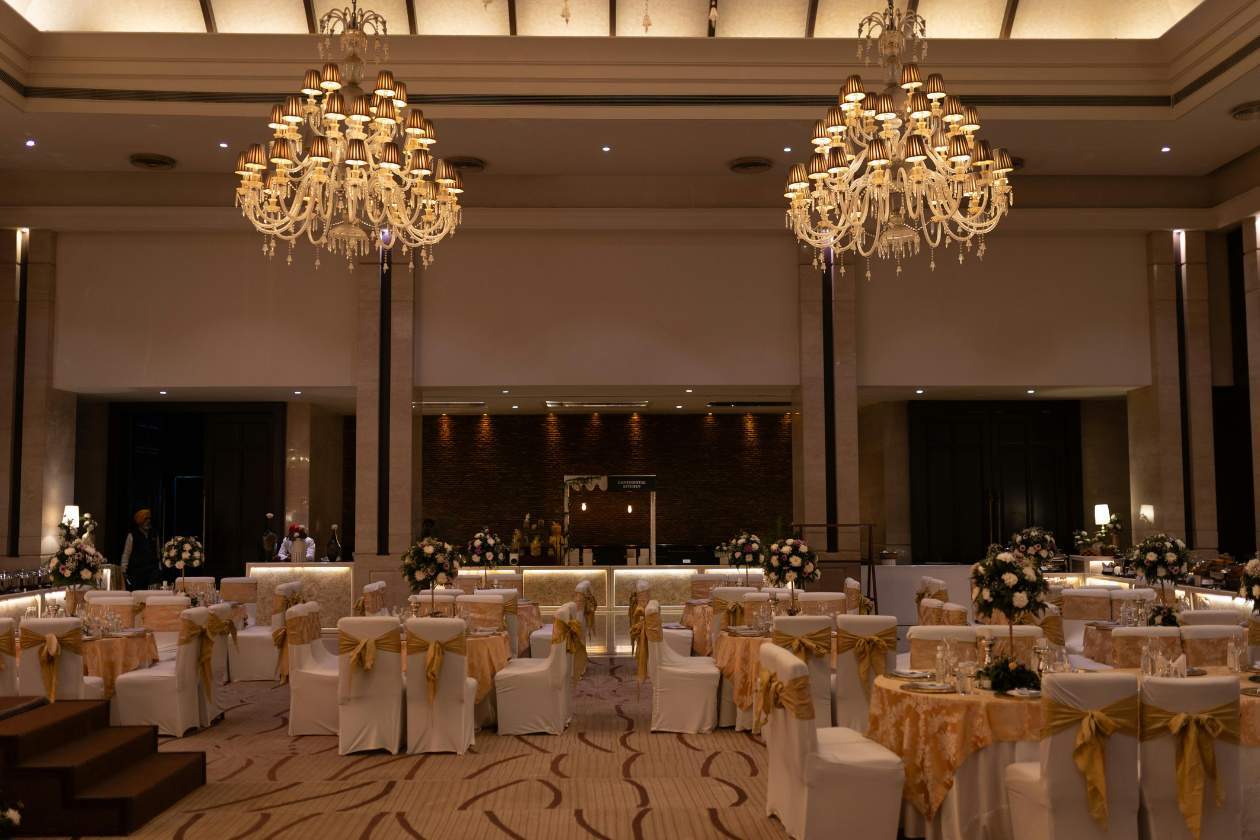
Get Screens Right in Real Light
Visual problems are often caused by lighting, not resolution. A sharp image can still be unreadable if the room is too bright, the screen is too small, or the content is colour-on-colour.
If you’re using projectors, brightness is what counts. Projector selection should consider ambient light, with 4,000–5,000 lumens generally offering good visibility in many conference-type rooms.
Projectors vs LED Screens
Projectors can be a good fit for controlled-light rooms, especially where rigging and sightlines work. LED screens (or LED walls) are often easier to read in brighter spaces and can suit rooms where you can’t get a clean throw.
For outdoor or high-ambient-light conditions, you’ll usually lean towards LED. If you must project outdoors, plan for timing (dusk/night), weather protection, and glare control.
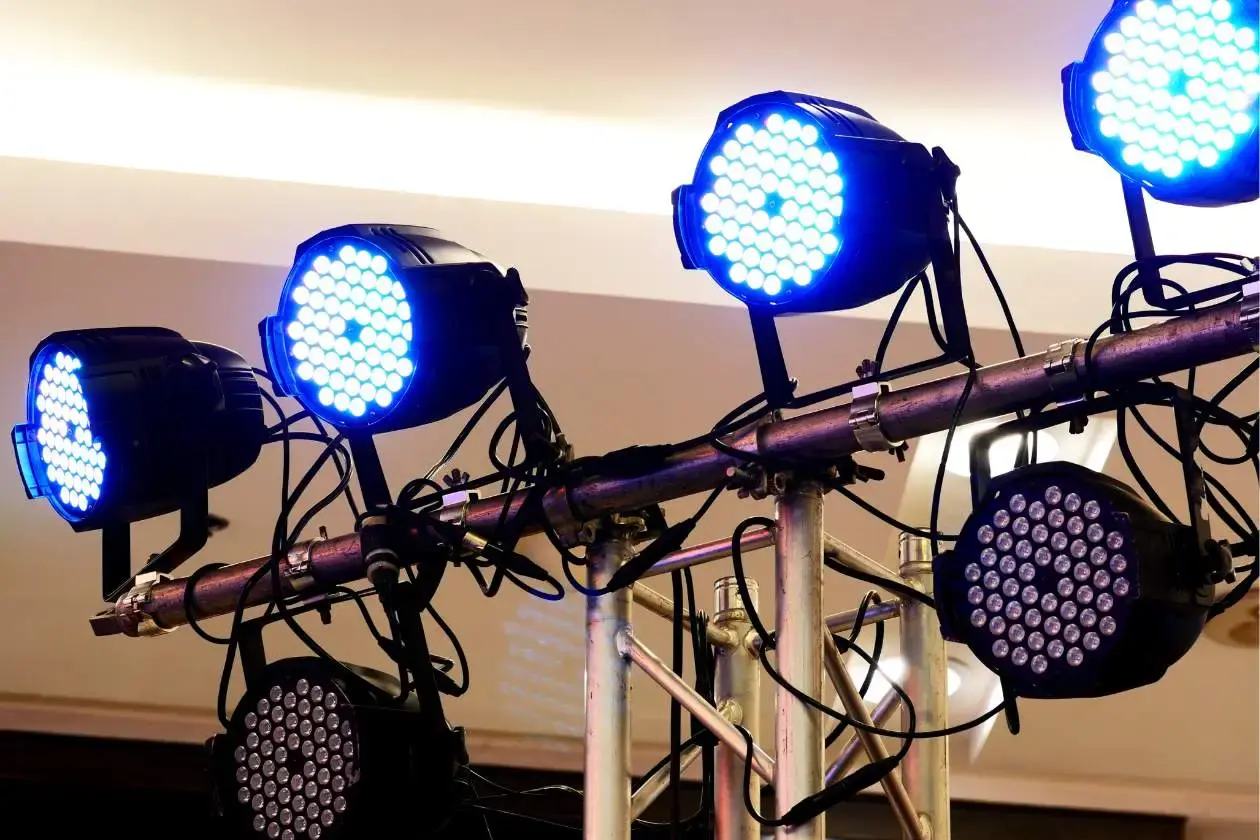
Plan for Power, Rigging, and Crew
Power and rigging rarely get the attention they deserve until the day before bump-in.
Check power availability near stage, FOH (front of house), and any screen positions. Confirm whether the venue has three-phase power where needed, and whether there are restrictions on cable runs across public walkways.
Rigging is similar. If you’re hanging speakers, lighting, or screens, confirm the venue’s points, load limits, and access method. If you can’t rig, your ground-support plan needs to be realistic for the room.
Then crew it correctly. A show with multiple presenters, content changes, and video playback is not a one-person job. Even when the equipment list is modest, a second set of hands can be the difference between calm changeovers and frantic resets.
Budget Without Guessing
Budgeting works best when it’s tied to outcomes. Decide what can’t fail (speech clarity, readable screens, stable playback), then spend there first.
If you need to pull costs down, it’s usually safer to simplify the show flow than to under-crew it. Fewer transitions, fewer content sources, and fewer microphone types reduce risk. You can still meet your audio-visual requirements for your events—you just do it with a tighter format.
If the venue has AV, price the “gap” rather than re-hiring everything. Sometimes you only need extra microphones, an operator, or a better screen option to get the room working properly.
Lock It In With a Short Site Walk
The fastest way to confirm your plan is a short site walk (even a 15-minute one). Stand where the audience will sit. Look at sightlines. Check where speakers can stand without blocking screens. Test how far the room lights can dim. Map cable paths.
That site walk turns venue AV into facts, and it’s usually where small changes save you money and stress.
Need help planning your next event or installation? Get in touch and tell us your venue, dates, audience size, and what you need to be heard and seen.